
Last updated October 30, 2026
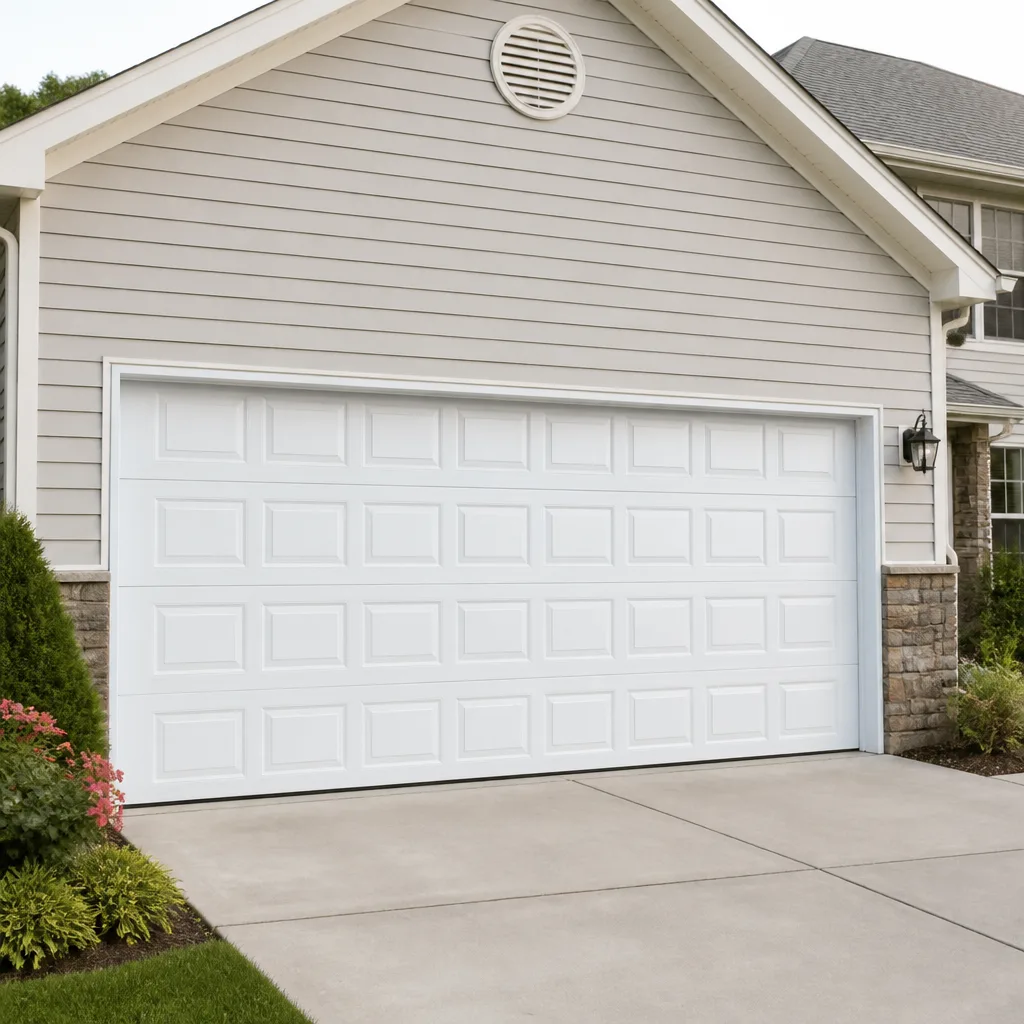 Raised-panel steel
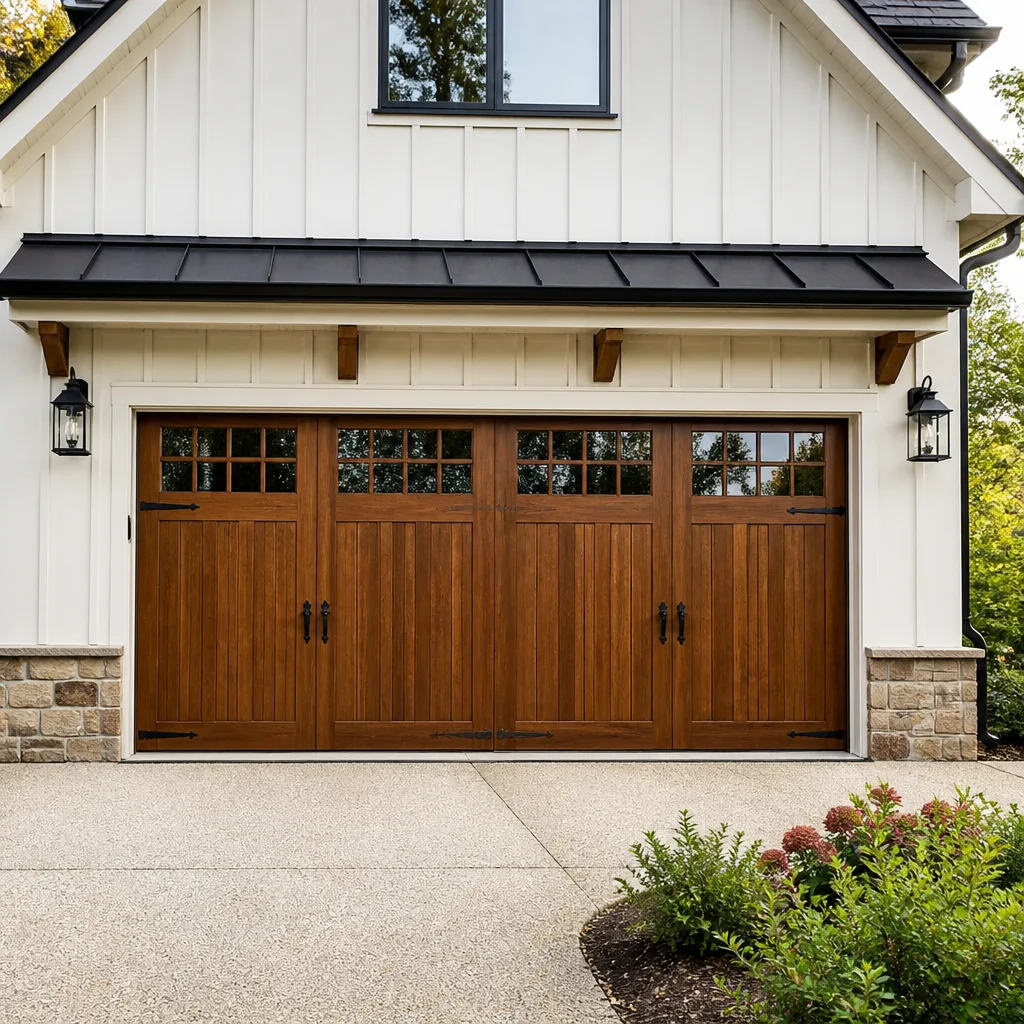 Carriage house
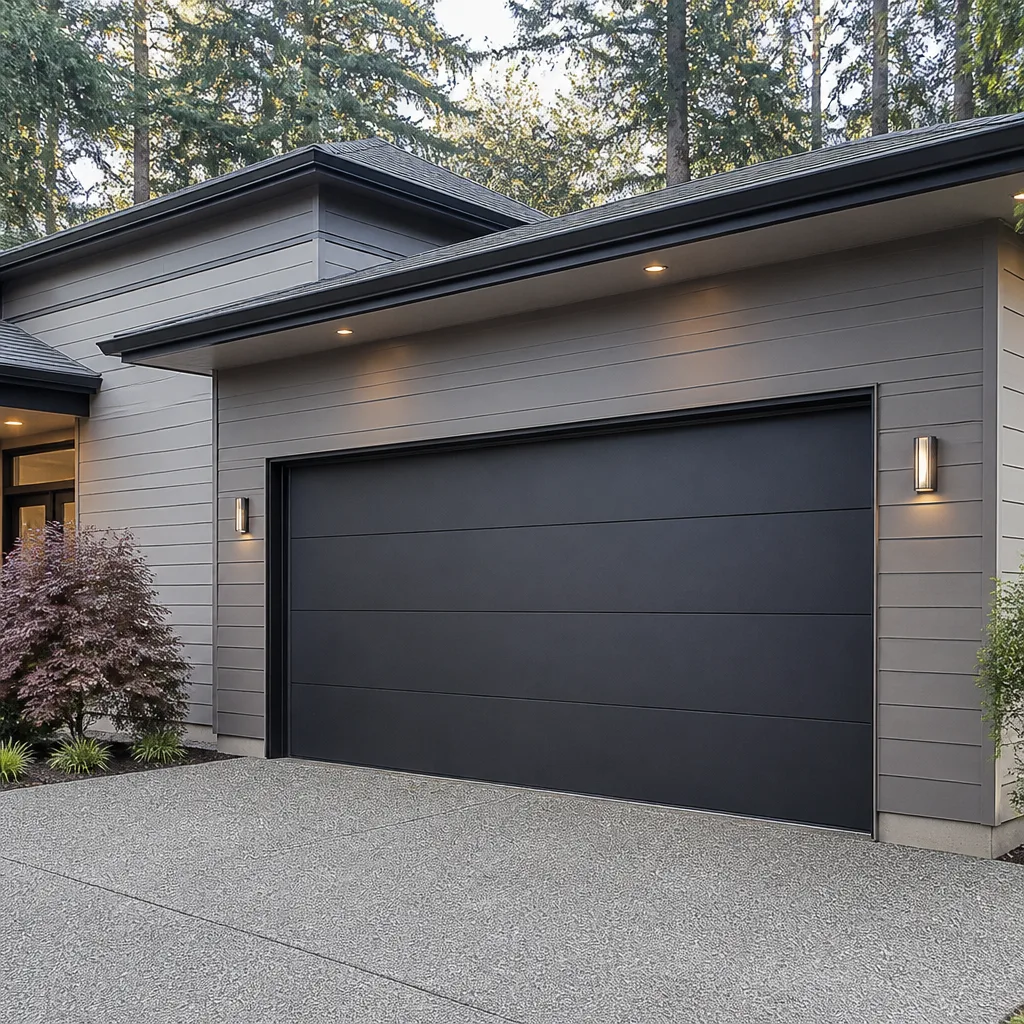 Modern flush
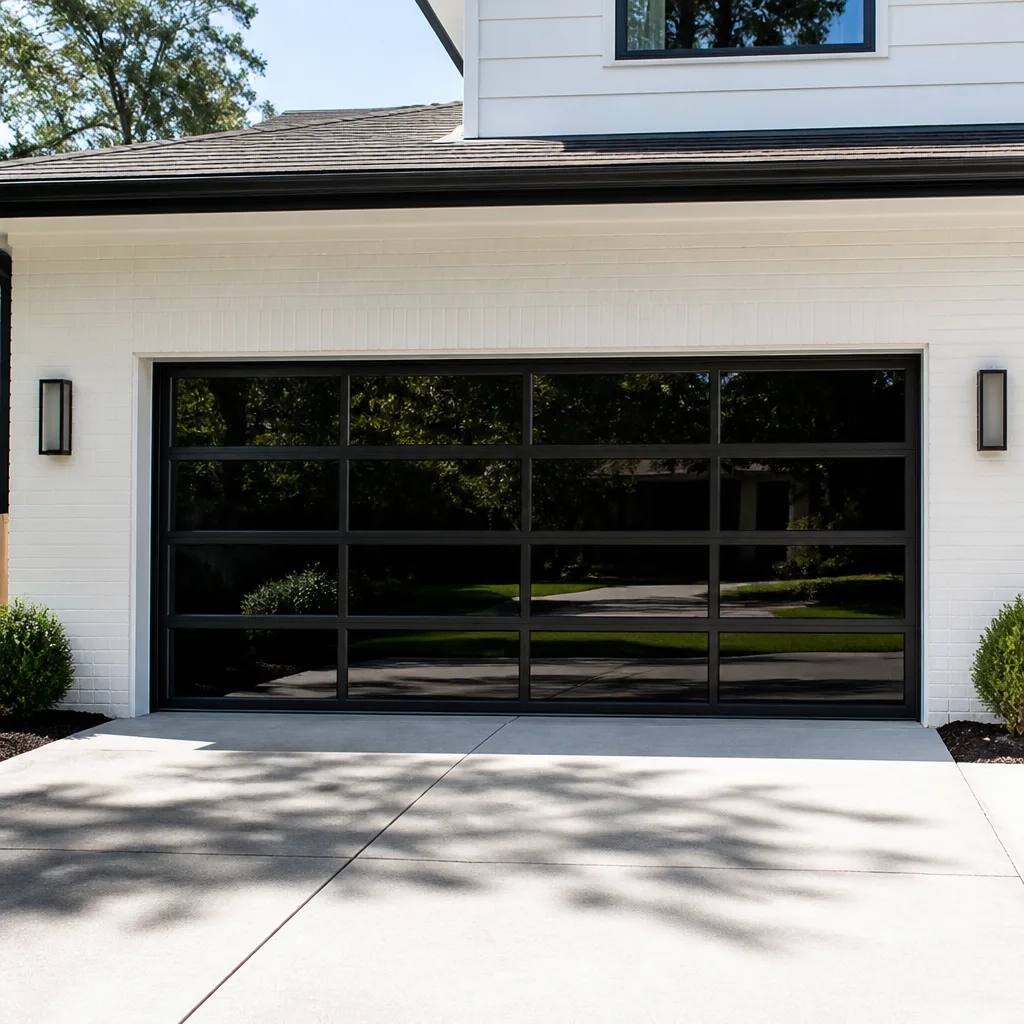 Full-view glass
 LiftMaster openers
 Chamberlain openers
Full 25-point door and opener safety check with every visit - springs, cables, rollers, tracks, and your LiftMaster or Chamberlain opener included
You get a price before we start. It does not change when the truck arrives.
Get your free estimateGarage Door Repair Maintenance Checklist for Anaheim Homeowners
The most common garage door failure in Southern California isn’t mechanical wear. It’s deferred maintenance on parts that cost $8 to fix and $400 to replace. We see it every week in Anaheim: a torsion spring snaps, a cable frays, a roller seizes, and the homeowner says the same thing: “It was working fine yesterday.” The truth is, garage doors rarely fail without warning. They fail when small problems are left alone long enough to become big ones. This checklist is built for the specific way doors degrade in Anaheim’s climate, and it will show you exactly what to check, what to lubricate, and what to leave alone.
Styles & brands we work with
Quick Answer
A garage door maintenance checklist for Anaheim homeowners should include monthly visual inspections of rollers, cables, and springs; quarterly lubrication of hinges, rollers, and the opener rail; semi-annual balance and auto-reverse tests; and annual inspection of weather stripping and opener gear wear. Most of these tasks take under 15 minutes. The most critical items, especially anything involving the torsion spring, should be left to a trained technician because the spring is under enough tension to cause serious injury.
Table of Contents
- Why Anaheim’s Climate Changes Everything
- Before You Start: Safety First
- Monthly Maintenance Tasks (10 Minutes or Less)
- Quarterly Maintenance Tasks: Where to Lubricate and What to Use
- The Balance and Tension Test: How to Do It Without Touching the Spring
- The Visual Inspection Sequence a Technician Uses
- The Three Spots Most Homeowners Skip That Cause Premature Spring Failure
- Anaheim Seasonal Maintenance: Santa Ana Winds, UV Exposure, and Dry Heat
- Which Maintenance Tasks Void Manufacturer Warranties If Done Incorrectly
- Common Mistakes to Avoid
- When to Call a Professional
- Frequently Asked Questions
- The Bottom Line
Why Anaheim’s Climate Changes Everything
Most garage door maintenance guides are written for places with snow, rain, and freezing temperatures. Anaheim doesn’t have those problems. What it does have is relentless UV exposure, extended dry heat, and Santa Ana wind events that coat every surface with fine dust and debris. These factors stress garage door components differently than the rest of the country.
UV radiation breaks down weather stripping, plastic roller housings, and nylon bushings far faster than the manufacturer’s generic maintenance schedule assumes. Dry heat evaporates lubricant. It doesn’t just thin it out; it cooks it off entirely, leaving metal-on-metal contact that accelerates wear. And the Santa Ana winds drive abrasive dust into the rollers, hinges, and opener rail. That dust acts like sandpaper inside the moving parts of your door.
We’ve replaced garage doors in Anaheim that were only eight years old but looked fifteen, solely because the rollers had been running dry through two or three Santa Ana seasons. The track was fine. The springs were fine. The rollers had simply ground themselves down to nubs.
This checklist uses a schedule calibrated for Anaheim conditions. If you follow it, you’ll catch most failures before they strand your car in the driveway or, worse, leave your garage unsecured overnight.
Before You Start: Safety First
One hard rule before any inspection: understand what you can and cannot touch. The torsion spring mounted above the center of the door is under several hundred pounds of tension. It stores enough energy to break bones or cause fatal injury if it releases unexpectedly. Never attempt to adjust, remove, or “tighten” a torsion spring yourself. The same applies to the bottom roller brackets on either side of the door, which are bolted to the spring cable system.
Every task in this guide is designed to be done without touching the spring, the cables under tension, or the bottom brackets. If you see damage in those areas, close the door gently if it still operates, leave it in place if it doesn’t, and call a professional for Garage Door Repair services.
Your garage door opener has an emergency release cord, usually a red handle hanging from the opener rail. Pulling this disconnects the door from the opener and lets you operate the door manually. This is useful for testing, but be aware that if the door is damaged or off balance, a manual door can slam shut with force. Test it only when you’re standing to the side, never directly under the door’s path.
Monthly Maintenance Tasks (10 Minutes or Less)
Monthly checks are the heart of this entire guide. They take ten minutes and catch 80% of the problems that turn into four-figure repairs.
Task 1: Listen to the Door Cycle
Open and close the door once, standing inside the garage. Close your eyes and listen. A healthy garage door sounds smooth, with a consistent low rumble. Grinding, squealing, popping, or banging is your first warning sign. A squeak means dry metal. A pop can mean a roller catching in the track. A bang often means a loose bolt or a hinge that’s starting to fail. Write down what you hear, even if you don’t know what it means. That note will be useful if you call us later, or if you’re working through our Garage Door Repair Troubleshooting: Common Problems and How to Fix Them.
Task 2: Watch the Door While It Moves
Stand inside the garage and watch the door travel from closed to open. Look for jerking, hesitation, or uneven movement. The door should move at the same speed through the entire cycle. If it speeds up through one section and slows through another, something is binding. The two most common causes are a track that’s slightly out of alignment or a roller that’s worn flat on one side. Both are inexpensive fixes now and expensive fixes later.
Task 3: Check the Rollers
There are typically ten to twelve rollers on a double-car garage door, mounted in hinged brackets along both sides. Look at each one while the door is down. Steel rollers should show smooth, round wheels. Nylon rollers should have no visible cracks or flat spots. Any roller that’s visibly worn, wobbling in its bracket, or has a missing ball bearing needs replacement. Rollers wear unevenly, so check every one, not just the ones at eye level.
Task 4: Inspect the Cables
The lift cables run vertically along each side of the door. They’re wound around drums at the top and anchored to brackets at the bottom. Look for any broken strands, rust, or fraying, especially where the cable wraps onto the drum. Do not touch the cables. A cable with visible damage is a failure in progress. It can snap without warning and whip with dangerous force. If you see damage, stop using the door and call us.
Task 5: Test the Auto-Reverse Feature
Place a 2×4 flat on the ground in the center of the door opening. Close the door. It should reverse within two seconds of contacting the board. If it doesn’t, the opener’s force setting needs adjustment or the safety sensors need realignment. Since 1993, federal law has required all residential openers to include this feature, but it only works if it’s maintained. Test it every month. It’s the difference between a dented door and a crushed bicycle, or worse.
Quarterly Maintenance Tasks: Where to Lubricate and What to Use
Lubrication is the single most effective thing you can do to extend the life of a garage door. But only if you use the right product and put it in the right places.
Use a dedicated garage door lubricant or a white lithium grease spray. Do not use WD-40. WD-40 is a solvent and water displacer, not a lubricant. It strips away existing grease and leaves moving parts drier than before. Do not use heavy axle grease. It collects dust and grit, and in Anaheim’s dry air it hardens into a paste. A light silicone or lithium spray is what you want.
What to Lubricate:
- Rollers: Spray the bearing at the center of each roller, not the wheel surface. If your rollers are sealed nylon, just spray the stem where it enters the hinge.
- Hinges: Every hinge has a pivot point where the two leaves meet. A quick shot on both sides of the pivot is enough.
- The opener rail: Spray a light coat along the full length of the rail where the trolley rides. Wipe off excess with a rag.
- Latch and lock mechanisms: The handle and any side locks need lubrication too, especially if you have a manual release mechanism on the outside.
What Not to Lubricate:
- The torsion spring: A light coat of lithium spray on the spring coils themselves is fine and helps prevent surface rust. Do not douse it. Excess lubricant drips onto the door and attracts dust.
- The tracks: Garage door tracks are not lubricated. They’re designed for the rollers to grip. Lubricating the tracks causes the rollers to slip, which makes the door bounce and can cause it to come off its rail entirely.
- The safety sensor lenses: Keep them clean with a dry cloth. Lubricant on the lens interferes with the infrared beam.
The Balance and Tension Test: How to Do It Without Touching the Spring
A balanced garage door is one that holds its position when you stop it halfway. A door that drops or rises on its own has a spring problem, and it’s either over-tensioned or under-tensioned. Testing balance is something any homeowner can do safely, because it doesn’t require touching the spring system.
- Close the door completely.
- Pull the emergency release cord to disconnect the opener from the door. The door now operates manually.
- Lift the door by hand to about waist height, or roughly half open.
- Let go of the door slowly.
- Watch what happens.
A properly balanced door will stay right where you left it. It might drift an inch or two, but it shouldn’t move more than that. A door that drops quickly toward the ground has a spring that’s lost tension, which means the spring is wearing out. A door that shoots upward has too much tension, which is less common but just as serious.
Either result means the spring needs professional adjustment or replacement. Do not attempt to adjust the spring yourself. Do not operate the door more than necessary before it’s serviced, because an unbalanced door puts uneven stress on the opener and accelerates wear throughout the system.
Reconnect the opener after the test by pulling the emergency cord again and operating the door once with the opener. If the door reconnects automatically, you’re done. If it doesn’t, most openers reconnect when you press the wall button and the trolley latches onto the carriage.
The Visual Inspection Sequence a Technician Uses
Every service call we make in Anaheim starts with the same visual sweep. It’s methodical, it’s quick, and it catches problems before a single tool comes out. You can run the same sweep yourself in about five minutes. Here’s the order we use, and why each point matters.
1. The Top Brackets and Spring Pad
Look at the center bracket that holds the torsion spring above the door. The mounting pad should be flush against the wall with no visible gaps. Bolts should show no signs of movement or rust streaks. Rust streaks mean moisture has been sitting on the bolt, which means the bolt is working loose. On Clopay and Amarr doors, we also check the spring anchor bracket for hairline cracks. These brackets take the full force of the spring, and a crack is the earliest sign of impending failure.
2. The Track Alignment
The vertical tracks on each side should be perfectly plumb, which means straight up and down when you sight along them. The horizontal tracks at the top should angle slightly upward as they run toward the back of the garage. Any bending, bowing, or visible gap where the track mounts to the wall means the track has moved. A misaligned track is a leading cause of rollers popping off and doors jamming halfway through a cycle.
3. The Hinge Seams
Each door panel is connected to the next by hinges. Look at the seams between panels from inside the garage. The gap should be even across the entire width of the door. An uneven gap means a hinge is bending or a panel is warping. On Wayne Dalton doors, which use a tongue-and-groove design, we also check for cracks in the panel faces where the hinges bolt through.
4. The Bottom Seal
The rubber strip on the bottom of the door should be flexible and free of cracks, splits, or gaps where it meets the floor. In Anaheim’s UV-heavy climate, this seal typically hardens and cracks within three to four years. A failed bottom seal lets in dust, water during the rare but real winter storms, and pests. It also affects the door’s thermal performance if your garage is attached to your living space.
5. The Opener Sprocket and Gear
If you have a chain-drive or belt-drive opener, look at the sprocket at the top of the opener unit where the chain or belt attaches. The teeth should be sharp and well-defined. Rounded teeth mean the sprocket is wearing and the chain will eventually slip. Genie and LiftMaster openers have a plastic worm gear inside the unit that’s not visible, but a grinding noise during operation is the telltale sign that gear is stripped.
The Three Spots Most Homeowners Skip That Cause Premature Spring Failure
The torsion spring is the most dangerous and most expensive single component on your garage door. It’s rated for a certain number of cycles, usually 10,000 for a standard spring. But in our experience, most Anaheim springs fail well before that number, and the reason is almost always one of three overlooked maintenance points.
1. The Bearing Plates at the End of the Spring Bar
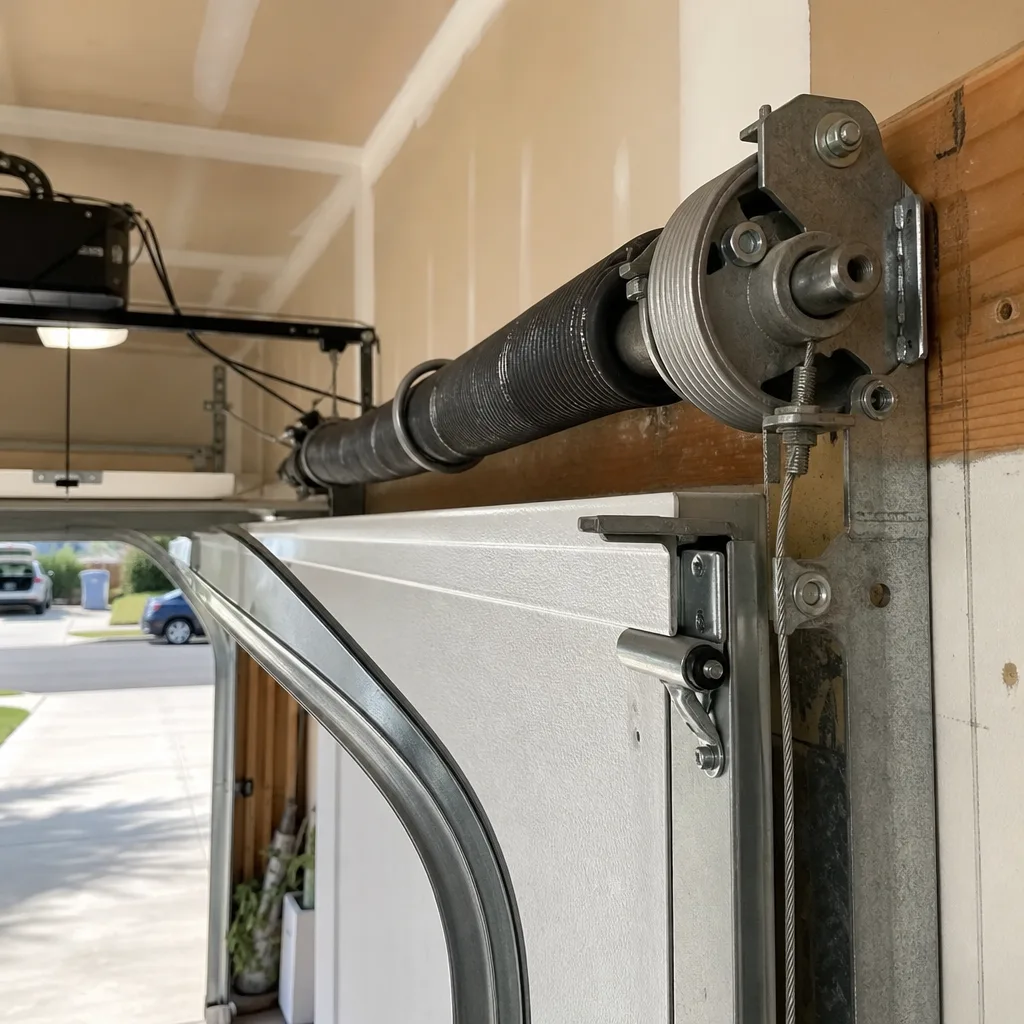
The torsion spring is mounted on a metal bar that runs the width of the door. At each end of that bar is a bearing plate. These bearings allow the shaft to rotate smoothly. When they run dry, they drag. That drag increases the resistance on the spring, which increases the cycles of stress on the spring wire. A shot of lubricant on these bearings takes ten seconds. We rarely see a homeowner do it.
2. The Spring Coil Contact Points
When a torsion spring winds and unwinds, the coils compress and release against each other. Metal touching metal, thousands of times per year. Without a light coat of lubrication, the friction between coils generates heat and accelerates fatigue at the exact point where the spring wire is stressed most. A light spray along the length of the spring, done quarterly, extends spring life dramatically. It’s the difference between a spring that lasts seven years and one that lasts twelve.
3. The Cable Drums
The cable drums sit at each end of the torsion bar. As the spring winds, the drums rotate and the lift cables wrap or unwrap. The drums need to stay aligned and the cables need to spool evenly. If dust from Santa Ana winds accumulates in the drum grooves, the cable can overlap itself, which jerks the door and applies sudden, uneven stress to the spring. Wiping the drums clean and checking cable spooling takes a minute and prevents the kind of failure that can cause a cable to snap and a spring to detonate.
All three of these points are visible without touching the spring under tension. You can lubricate them without any risk if you stand off to the side and use a spray with a straw attachment. We mention them specifically because in fifteen years of service calls, we’ve almost never seen a homeowner address all three.
Anaheim Seasonal Maintenance: Santa Ana Winds, UV Exposure, and Dry Heat
Anaheim’s seasons don’t follow the ice-and-snow calendar that most maintenance guides are built around. Instead, your door cycles through four distinct stress periods each year. For more guides & resources, here’s what to do in each one.
Santa Ana Season (September through November)
Santa Ana winds drive dust, pollen, and fine debris into every opening in your garage door system. That grit is the primary cause of roller failure and track binding during the fall. At the start of Santa Ana season, do a thorough cleaning pass:
- Wipe the tracks clean with a dry cloth, removing all dust buildup from the interior grooves
- Blow out or vacuum the opener rail, especially the trolley channel
- Check the weather stripping on the sides and top of the door for gaps where dust is getting in
- Wipe down the safety sensor lenses, which collect a surprisingly thick film of dust during wind events
If you do this once at the start of the windy season, you’ll prevent most of the gritty wear that shows up as grinding noises and seized rollers by December.
Summer Dry Heat (June through August)
Extended temperatures in the high 80s and 90s, with single-digit humidity, cause lubricant to evaporate and rubber components to harden. In August, do an extra lubrication pass on all hinge pivots and roller bearings. Check the bottom seal for rigidity. If the rubber on the bottom seal doesn’t flex when you bend it, it’s past its service life and should be replaced before the winter rains, even though those rains are brief.
Winter Rain (December through February)
Anaheim’s rainy season is short but real, and garage doors see their highest rate of track rust and spring corrosion during this window. The bolts on your track brackets are bare steel in most cases. A light coat of lithium grease on bolt heads prevents rust that can seize the fastener and complicate future repairs. If you see any rust on the torsion spring, wiping it with a rust-inhibiting spray and then applying a light lubricant coat will slow further corrosion.
Spring Pollen (March through May)
When the hills around Anaheim bloom, pollen coats everything, including the interior of your garage. Pollen itself doesn’t cause wear, but it combines with existing lubricant to form a paste that clogs hinge pivots and slows roller rotation. A simple wipe-down of lubricated points with a clean rag, followed by a fresh light coat of lubricant, keeps things moving freely.
Which Maintenance Tasks Void Manufacturer Warranties If Done Incorrectly
Most garage door and opener warranties, including those from Clopay, Amarr, Wayne Dalton, and Genie, contain language that voids coverage if damage is caused by improper maintenance or unauthorized modification. That language is broad, and manufacturers enforce it selectively. Here are the tasks where DIY work most commonly crosses the line.
1. Spring Adjustment or Replacement
Every manufacturer warranty explicitly excludes spring damage caused by improper tension adjustment. Attempting to wind or unwind a torsion spring without the proper winding bars and training is both dangerous and warranty-destroying. If a spring fails because it was adjusted incorrectly, the replacement cost is yours.
2. Cable and Drum Work
Replacing or adjusting lift cables requires unwinding the torsion system. It’s the same exclusion. A scratched cable drum or a misaligned cable anchor can cause a cascade failure, and the manufacturer will attribute the root cause to the improper repair.
3. Opener Force Setting Adjustments
Adjusting the force sensitivity on your opener may seem simple, but setting it too high creates excess stress on the gearbox and the door panels. If you set it to overcome a door that’s binding instead of fixing the binding, and the opener burns out a gear, the manufacturer will deny the claim. Force adjustments should follow the door being balanced correctly.
4. Panel or Section Replacement
Replacing a single garage door panel seems straightforward, but panel weight varies by section, and mismatching panels changes the door’s weight distribution. Warranty claims for broken springs or bent tracks are typically denied if a panel was replaced by the homeowner and the wrong size or weight was used.
The general rule: tasks that involve the spring, cables, opener internals, or panel structure are professional territory. Lubrication, cleaning, tightening visible bolts, and testing the auto-reverse feature are all warranty-safe homeowner tasks. If you’re uncertain, a five-minute phone call to a garage door opener specialist can save you from an expensive mistake.
Common Mistakes to Avoid
- Lubricating the tracks: Garage door tracks are meant to be dry. Lubricant makes rollers slip, which causes bouncing and can throw the door off its rail.
- Using WD-40 as a lubricant: It’s a solvent. It strips existing grease and leaves moving parts running dry within days. Use white lithium or silicone spray.
- Ignoring a squeak because the door still works: A squeak is a metal surface wearing against another surface. By the time it becomes a grinding sound, the component is typically beyond saving.
- Testing the auto-reverse feature once and forgetting it: The force setting drifts over time as the opener ages. Test it monthly, not yearly.
- Adjusting the spring yourself: Hundreds of homeowners are injured every year by torsion springs. The spring stores enough tension to kill. Nothing in this guide involves touching it.
- Relying on the manufacturer’s generic maintenance schedule: Clopay and Amarr write maintenance guides for national conditions. Anaheim’s UV, dry heat, and wind dust require a faster cycle.
- Replacing the opener without addressing the door: If the door is unbalanced or the rollers are binding, a new opener is fighting the same old problem. The door comes first.
When to Call a Professional
Some maintenance findings are signs to step back. A frayed cable, a rusted or visibly stretched spring, a door that’s off its track, a roller bracket that’s bent, or an opener that grinds instead of hums: these are all professional-level issues. Attempting to fix them without the right tools and training puts you in a dangerous position, and it usually makes the repair more expensive than it would have been. If your visual inspection finds any of these conditions, stop using the door and call us. Porter Garage Door offers free estimates in Anaheim, and our technicians work on the brand already in your garage. Call (833) 589-5745 and we’ll tell you honestly whether a repair or a replacement makes more sense. For reference, a typical torsion spring replacement is more affordable than most homeowners expect, and it’s a same-day job when we have the right spring on hand.
Frequently Asked Questions
Monthly visual checks, quarterly lubrication, and semi-annual balance and auto-reverse testing are the right rhythm for Anaheim’s climate. The dry heat and Santa Ana dust accelerate wear, so a monthly ten-minute check catches most failures before they strand your car.
Use a white lithium grease spray or a dedicated garage door lubricant from the hardware store. Avoid WD-40 because it’s a solvent, not a lubricant. Apply it to roller bearings, hinge pivots, the opener rail, and a light coat on the torsion spring. Call (833) 589-5745 if you want a specific brand recommendation for your door type.
No. Garage door springs are under hundreds of pounds of tension and can cause fatal injury if released unexpectedly. Spring replacement requires specialized winding bars and training. We replace torsion springs as part of our garage door repair service in Anaheim, and most jobs are done the same day.
Pull the emergency release cord, lift the door to waist height, and let go. A balanced door stays put. If it drops or rises, the spring needs adjustment. Do not attempt the adjustment yourself. Call us at (833) 589-5745 for a free estimate.
Yes. Santa Ana events drive dust and grit into the roller bearings, hinges, and opener rail. That abrasive dust accelerates wear and is a primary cause of grinding noises and seized rollers in Anaheim. A thorough cleaning at the start of each wind season prevents most of it.
If the door is under fifteen years old and the failure is isolated, like a single broken spring or a worn roller, repair almost always makes sense. If the door has rusted panels, warped sections, or has been through multiple spring failures, a new garage door installation is often the better long-term investment. We’ll tell you honestly which one actually makes sense for your situation.
The Bottom Line
A garage door is a heavy, high-cycle mechanical system that responds well to consistent, small maintenance. In Anaheim, the climate accelerates specific failure modes: UV-hardened seals, dry heat that cooks off lubricant, and wind-driven dust that grinds down rollers. A ten-minute monthly inspection, quarterly lubrication, and semi-annual balance testing will catch most of what goes wrong before it becomes a crisis. The tasks in this guide are safe for any homeowner, with one line never to cross: the torsion spring. Leave that to professionals. Garage doors are all we do, and we work on the brand already in your garage. If you find anything during your inspection that concerns you, call (833) 589-5745 for a free estimate. We’ll give you an honest answer about whether you’re looking at a repair or a replacement, and you’ll know the price before any work begins.
Written by the team at Porter Garage Door, serving Anaheim since 2015.
See the difference
 Before
 After
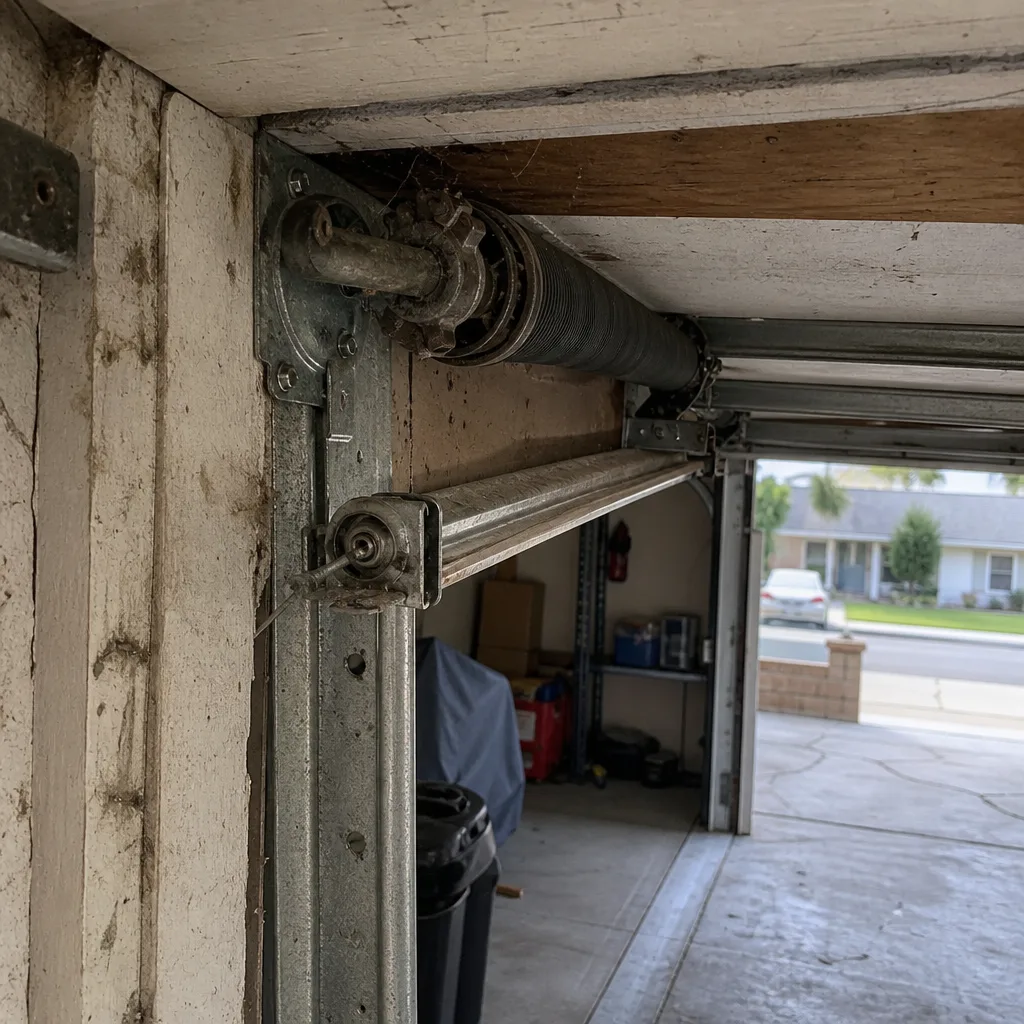 Before
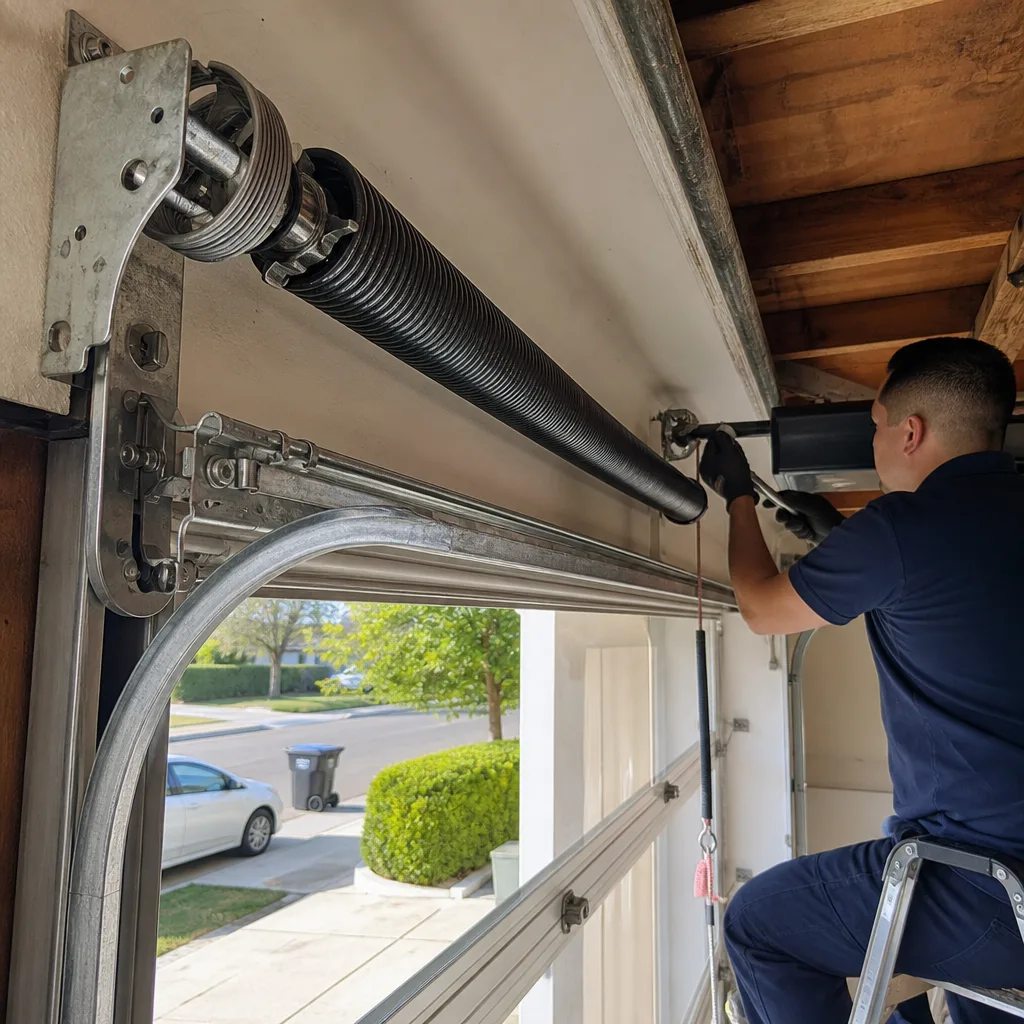 After
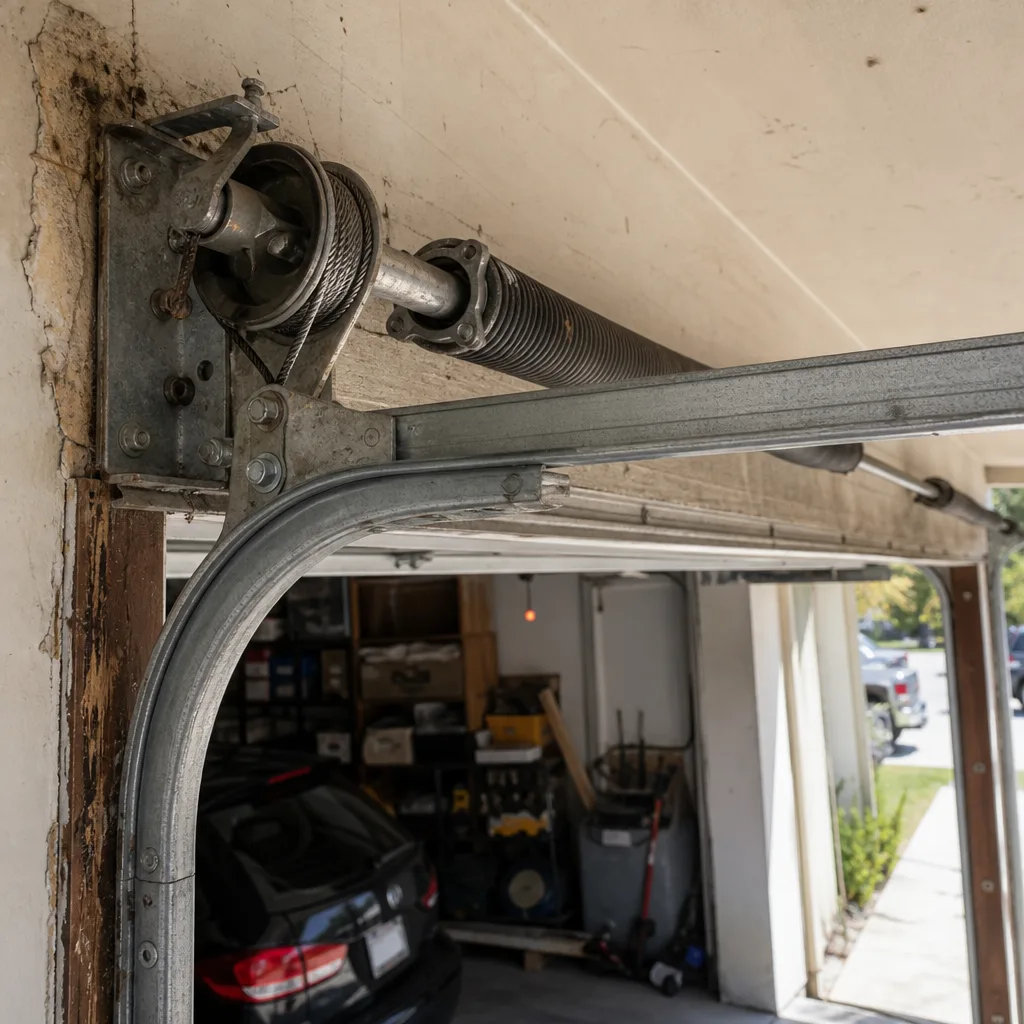 Before
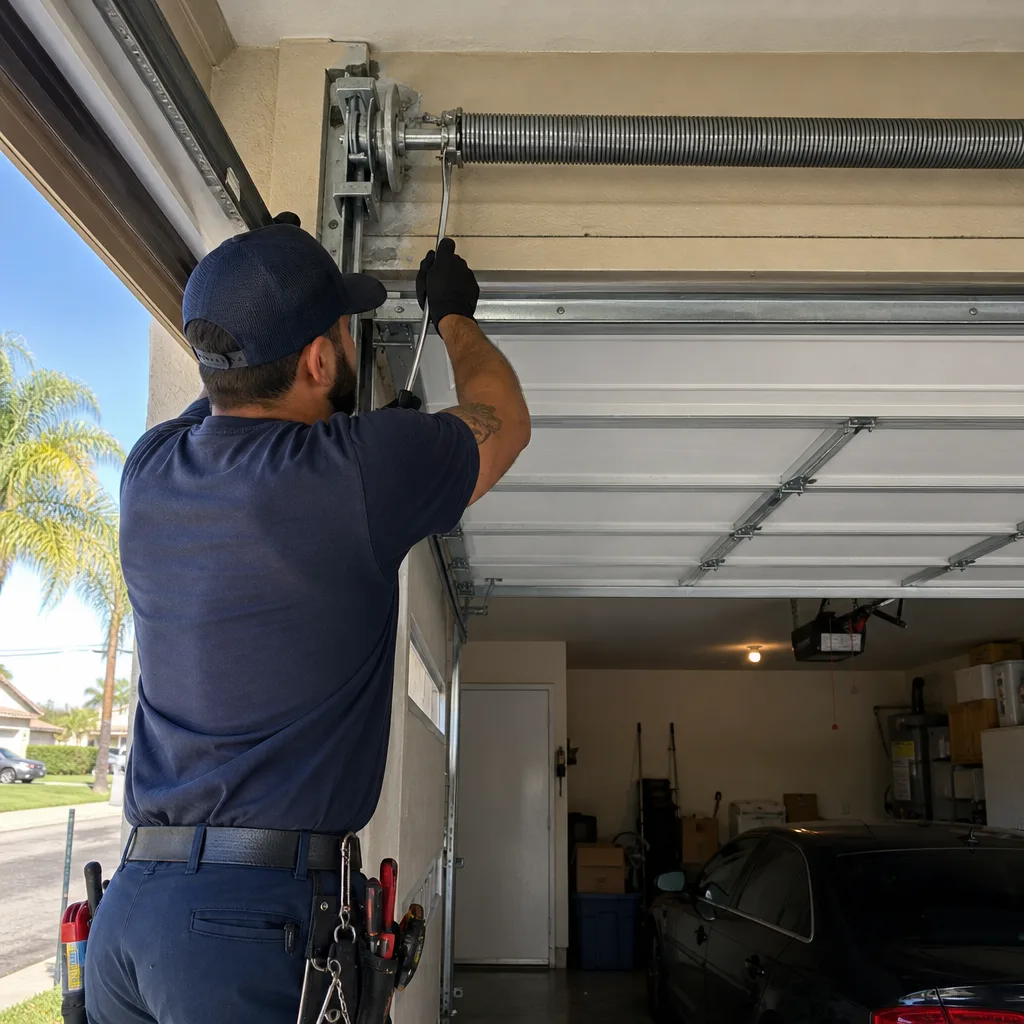 After