
Last updated October 30, 2026
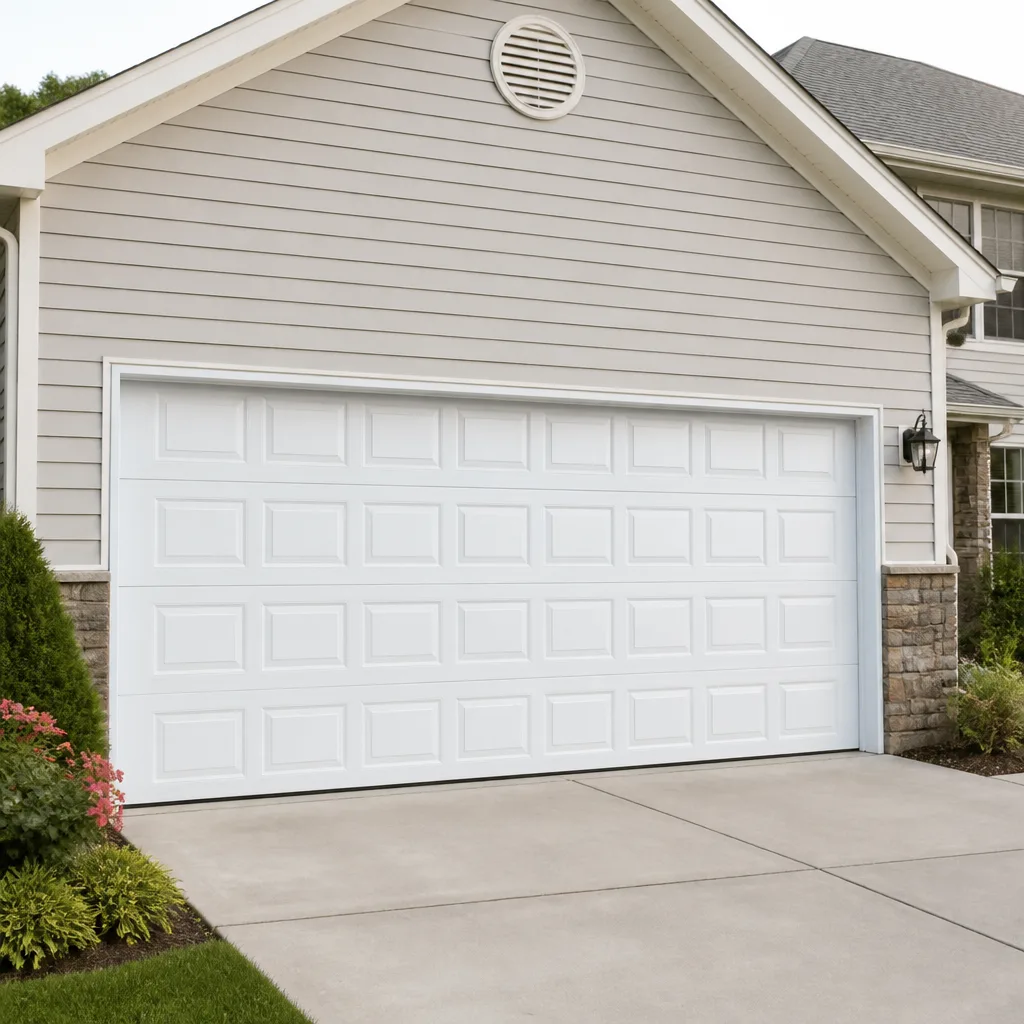 Raised-panel steel
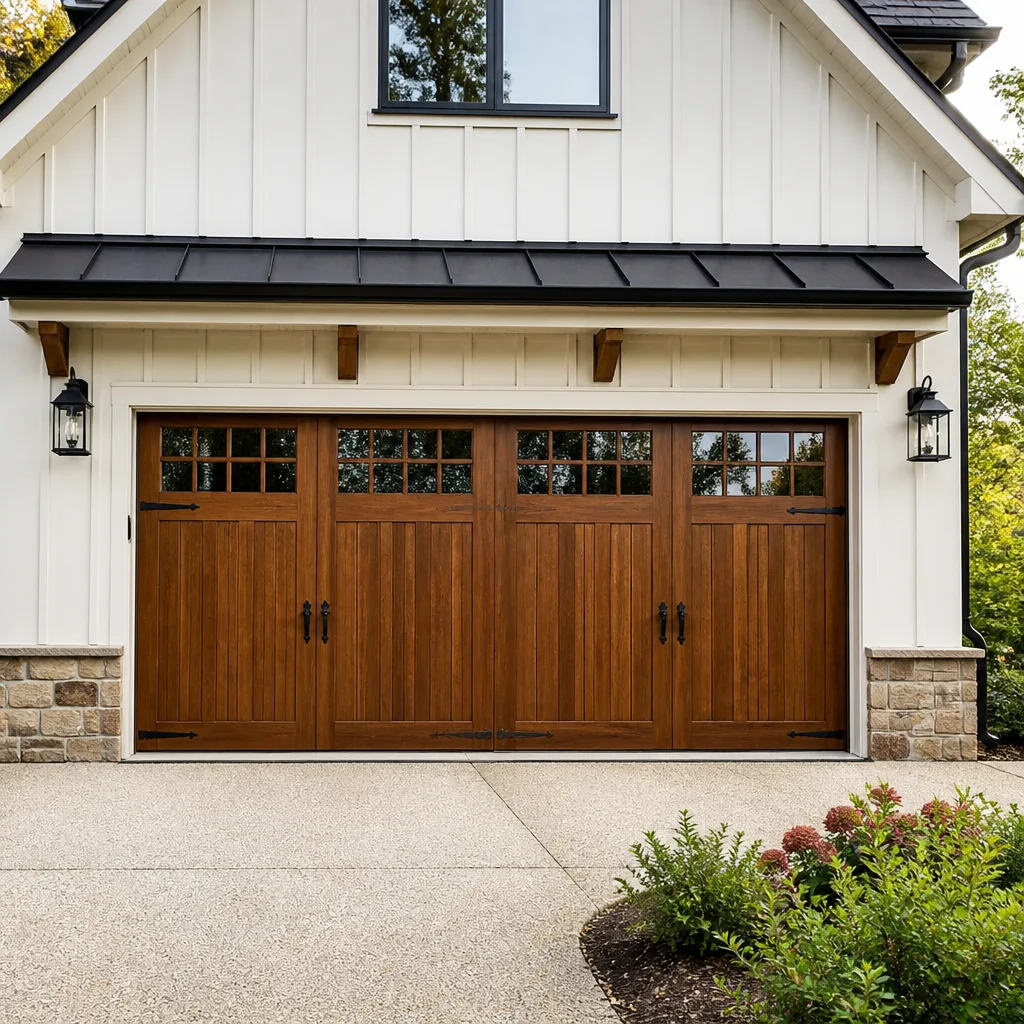 Carriage house
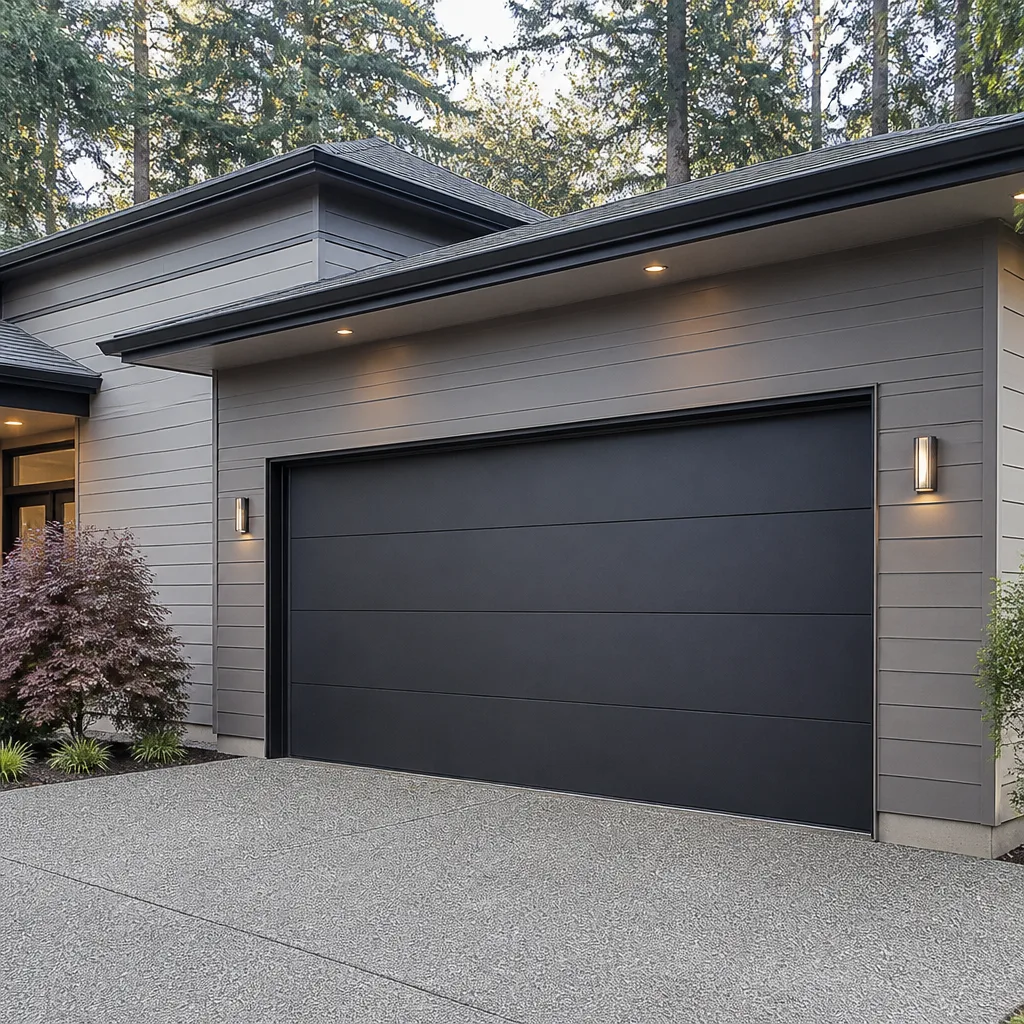 Modern flush
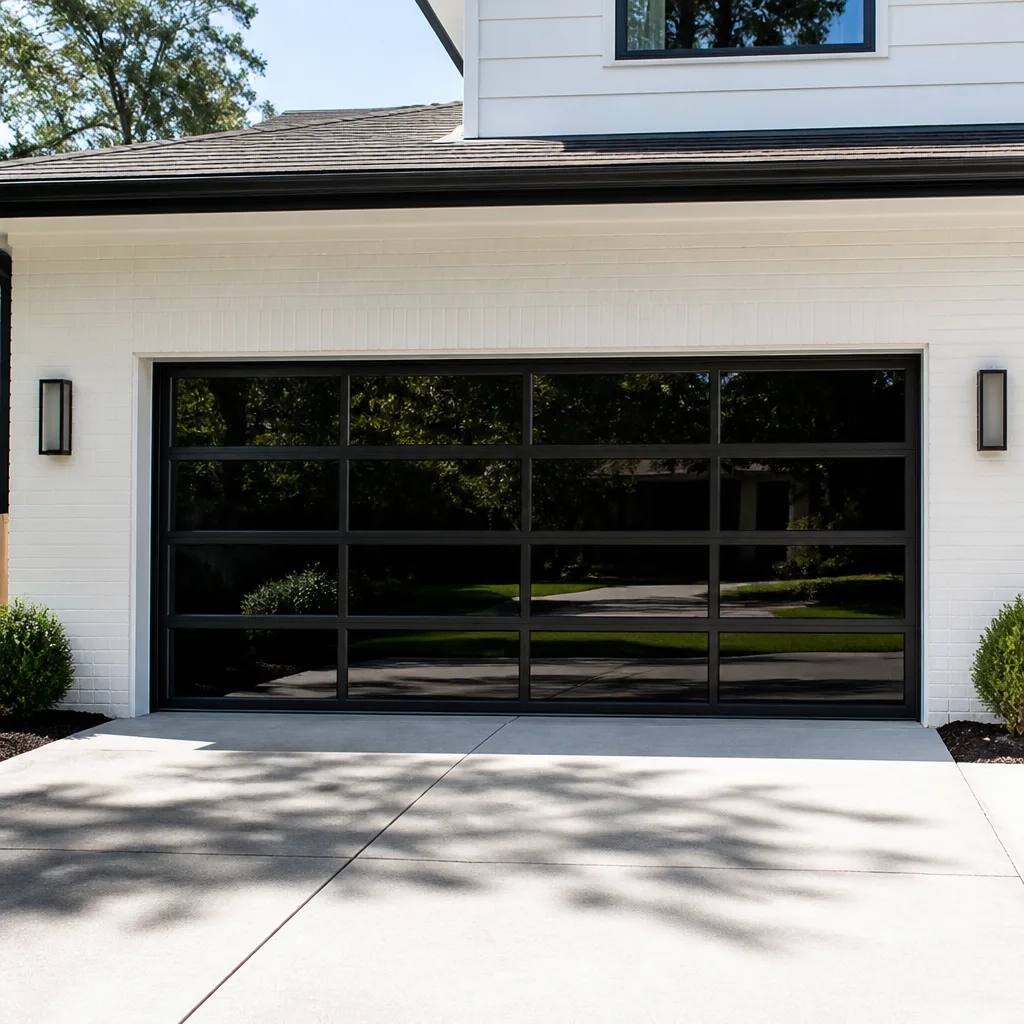 Full-view glass
 LiftMaster openers
 Chamberlain openers
Full 25-point door and opener safety check with every visit - springs, cables, rollers, tracks, and your LiftMaster or Chamberlain opener included
You get a price before we start. It does not change when the truck arrives.
Get your free estimateGarage Door Repair Troubleshooting: Common Problems and How to Fix Them
Here’s a number that surprises most Anaheim homeowners: roughly a third of the garage door service calls we run start with a problem the homeowner could have identified in under five minutes. Not fixed, necessarily, but identified. There’s a real difference between a door that needs a technician and a door that needs a two-second adjustment. Knowing which is which changes everything. This guide walks you through the system-level logic behind the most common garage door failures, how to isolate the actual cause, and when in Anaheim you should call a specialist for our Garage Door Repair services. By the end, you’ll know the difference between a mechanical issue and an electrical one, what those blinking opener lights actually mean, and which symptoms mean stop using the door immediately.
Quick Answer
Most garage door failures fall into two categories: mechanical problems (springs, cables, tracks, rollers) and electrical problems (opener, sensors, logic board). To troubleshoot, first determine whether the door moves at all, then listen and look for where it’s binding or hesitating, then check the two most commonly misdiagnosed culprits: the disconnect cord and the safety sensor alignment. If the door is heavy to lift by hand, the problem is almost always spring tension. If it moves freely by hand but won’t respond to the opener, the problem is almost always electrical. Either way, the repair starts with knowing which system you’re actually dealing with, not guessing at parts.
Styles & brands we work with
Table of Contents
- Mechanical vs. Electrical: How to Isolate the Real Problem
- Decoding Opener Indicator Lights: LiftMaster, Craftsman, and Raynor
- When the Door Won’t Open at All
- When the Door Reverses Before Touching the Floor
- When the Door Moves Slowly or Unevenly
- The 60-Second Safety Sensor Alignment Test
- Symptoms That Require Immediate Stop-Use
- Common Mistakes to Avoid
- When to Call a Professional
- Frequently Asked Questions
Mechanical vs. Electrical: How to Isolate the Real Problem
This is the foundational skill in garage door troubleshooting, and it’s the one most guides skip. Every garage door system has two distinct halves. The mechanical half is everything physical: springs, cables, tracks, rollers, hinges, and the door panels themselves. The electrical half is the opener motor, the logic board, the sensors, the wall button, and the remote. They fail in different ways, and the repair paths are completely different.
Here’s the isolation test in three steps:
- Pull the emergency release cord. This is the red cord hanging from the opener rail. Pulling it disconnects the door from the opener carriage.
- Lift the door by hand. A properly balanced door should lift smoothly with one hand and stay open about three to four feet off the ground on its own. It should feel heavy but not like you’re deadlifting a refrigerator.
- Read the result. If the door is very heavy, jerky, or binds in the tracks, the problem is mechanical. If the door moves smoothly and stays balanced, the problem is electrical, and your opener is the likely culprit.
This single test eliminates half the possible causes. In Anaheim, where coastal air accelerates rust on older hardware, we see a lot of mechanical failures that get reported as opener problems. The homeowner presses the button, the opener grinds, nothing moves, and the assumption is a dead motor. Then a technician arrives and finds a broken spring. The door couldn’t move because the opener wasn’t strong enough to lift an unbalanced door, not because the opener failed. That’s a very different repair, and knowing the difference upfront saves you a service call fee and a misdiagnosis.
The mechanical side of your door wears predictably. Springs have a cycle life, usually 10,000 cycles for standard torsion springs, and when they fail, they fail suddenly. Rollers wear gradually, nylon rollers lasting about seven to ten years before the bearings degrade. Cables fray before they break, and tracks rarely fail on their own unless a roller seizes and forces the door out of alignment. The electrical side tends to fail in three ways: sensor misalignment, logic board failure from power surges, and limit switch failure. Each has a different cost, and each requires a different skill set. None should be guessed at.
Decoding Opener Indicator Lights: LiftMaster, Craftsman, and Raynor
Your opener talks to you. It just uses blink codes instead of words. We work across eight major brands at Porter Garage Door, and while each has its own diagnostic language, the three most common brands in Anaheim garages are LiftMaster, Craftsman, and Raynor. Here’s what their indicator lights actually mean.
For LiftMaster openers, which are the most common premium brand we service, the diagnostic LED is located on the back of the motor unit. The most common codes Anaheim homeowners ask us about:
- One flash up, one flash down: The safety sensors are misaligned or blocked. This is the single most common reason a LiftMaster door won’t close.
- Two flashes up, two flashes down: The door is obstructed or the force settings are too low. This usually means something is in the way or the door needs a force adjustment.
- Three flashes up, three flashes down: The door won’t close properly and reverses. Often a limit switch issue or a mechanical binding in the tracks.
- Five flashes up, five flashes down: The opener is overheating. This happens in Anaheim during peak summer when garage temperatures exceed 100 degrees and the motor’s thermal protection kicks in.
Craftsman openers use a similar diagnostic pattern, but the button is labeled differently. Older Craftsman models, the ones with the green learn button, use the same flash counting as LiftMaster since they share a parent company. The key difference is location: the diagnostic LED on a Craftsman is often integrated into the learn button itself rather than a separate light. So when a customer calls us about a Craftsman opener blinking four times, that’s not the same as a LiftMaster blinking four times. Four flashes on that unit typically means the safety sensor circuit is open, and the fix is usually a loose wire at the sensor terminals.
Raynor openers, which we see frequently in newer Anaheim construction, follow a simpler pattern. Most Raynor models have a single diagnostic LED that blinks in sequence after a failed operation. One blink means sensor obstruction. Two blinks mean force limit trip. Three blinks mean travel limit fault. Four means thermal protection engaged. The codes are straightforward, but the underlying fix isn’t always clean, especially on older Raynor units where the logic board is integrated and a failed board means replacing the whole opener rather than one component.
The point of knowing these codes isn’t to replace a technician. It’s to know whether you’re dealing with a thirty-second sensor realignment or a genuine opener failure before you commit to the call. In our experience, maybe twenty percent of the opener problems reported in Anaheim are actually just sensor issues that the blink code identifies in seconds.
When the Door Won’t Open at All
The most common reason a garage door won’t open at all is not what most people think. It’s not a dead opener. It’s not a broken spring. It’s the disconnect cord, pulled accidentally. Every opener has an emergency release, and that red cord hangs right where people reach for things, pull garden equipment down, or where kids grab it out of curiosity. One pull disengages the door from the carriage, and suddenly the opener runs but the door doesn’t move.
Here’s the full sequence for a door that won’t move:
- Check the disconnect cord. Is the door moving freely when you lift it by hand? If yes, the disconnect is engaged. Reconnect by running the opener until the carriage catches the door, or pull the cord back and toward the door to re-engage manually. Each brand has a slightly different reconnect method, and forcing it can damage the carriage. If you’re unsure how your specific opener reconnects, call us before you force anything.
- Check the power source. Is the opener plugged in? Is the outlet live? In Anaheim, we’ve seen garage outlets on the same circuit as outdoor lighting, and a tripped outdoor GFCI kills the whole circuit, opener included. Test the outlet with a lamp or a phone charger.
- Check the wall button. Do you have a functioning wall button? If the wall button opens the door but the remote doesn’t, it’s a remote battery or programming issue, not an opener failure.
- Check the opener’s indicator lights. Is the diagnostic LED blinking a code? Count the flashes and refer to the section above.
- Lift by hand after pulling the disconnect. Is the door heavy? If it won’t lift smoothly or feels like it weighs triple what it should, you have a spring failure. Stop using the door and call a professional.
One more Anaheim-specific note: heat. When garage temperatures climb into the triple digits during summer, the thermal protection on many openers can trip. The opener shuts down to protect the motor and won’t respond for ten to fifteen minutes while it cools. If your door stops working on a hot afternoon and works again an hour later, that’s thermal shutdown, and it can be a sign of either an aging motor or insufficient garage ventilation. It’s not always a repair issue, but it’s worth flagging if it happens repeatedly.
When the Door Reverses Before Touching the Floor
This is the single most misdiagnosed issue in garage door troubleshooting. A door that reverses immediately after touching the floor, or before it reaches the floor, is almost never “broken.” It’s misadjusted. The close-force limit, which controls how much resistance the opener will push against before reversing, is set too low. The opener thinks the door hit an obstruction because it met more resistance than the limit allows, so it reverses as a safety response.
The fix is straightforward, but it does vary by brand. On LiftMaster and Craftsman openers, the close-force adjustment is a dial or button on the opener unit, and raising it incrementally, one notch at a time, usually resolves the issue. On Genie models, the force is adjusted through the programming buttons. On Raynor units, it’s often a small potentiometer on the side of the motor housing. The instruction is always the same: adjust in small increments, test after each change, and watch the door’s behavior carefully.
However, there’s a nuance here that matters. A door that reverses because the force limit is miscalibrated is one thing. A door that reverses because the tracks are binding is another. If the door starts to close, slows noticeably halfway down, and then reverses, that’s not a force limit issue. That’s a track problem, a roller problem, or a door that’s out of balance and fighting the track on the way down. Adjusting the force limit to compensate for a binding door is a common DIY mistake that makes the underlying issue worse and adds stress to the opener.
Here’s the test: watch the door close. If it moves smoothly and reverses right at the floor, it’s a force limit adjustment. If it hesitates, catches, or slows mid-travel, that’s a mechanical resistance issue, and force adjustment won’t fix it. In Anaheim, where many homes are older and doors have been through decades of thermal cycles, tracks shift and rollers wear. We see misdiagnosed force issues frequently, and the correct repair is usually a realignment rather than an adjustment.
When the Door Moves Slowly or Unevenly
A slow garage door is a tension problem, not an opener problem. That’s the sentence to remember. The opener is a motor that moves the door, but the springs, not the motor, are what actually carry the door’s weight. When the springs are properly tensioned, the door opens and closes in eight to twelve seconds. When the springs lose tension, the door moves slower because the opener is working against more of the door’s actual weight than it was designed to.
There are two ways to confirm this. The first is the hand-lift test: pull the disconnect and lift the door manually. A properly balanced door feels consistently heavy but not increasing. A door with failing springs feels heavier as you lift it, because the spring is storing less energy and transferring more weight to your hands. The second test is visual: watch the door move. A door that opens slightly crooked, hesitates, or flutters at the bottom panels is showing you uneven spring tension, which is almost always a sign that one of the two springs is failing or has already failed.
The important thing to understand about garage door springs is that they don’t gradually lose tension in a linear way. Torsion springs, the most common type in Anaheim garages, maintain near-full tension until they break. So a slow door might mean a spring that’s about to fail, not one that’s simply “getting old.” That’s why we recommend calling a professional for any spring tension issue. Springs under tension store an enormous amount of energy, and working near them without the proper tools and training is genuinely dangerous. There’s a reason most emergency room visits related to garage doors involve spring injuries.
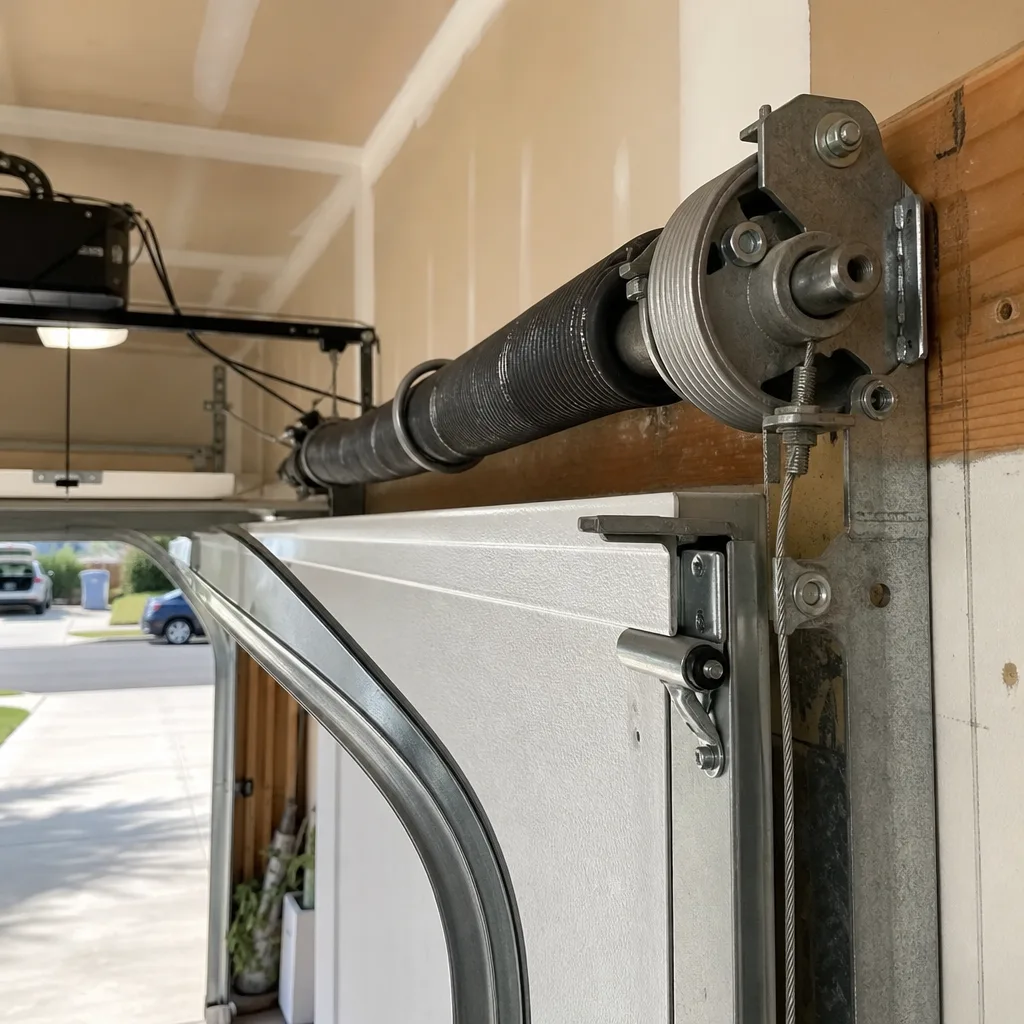
For an unevenly moving door, the culprit is usually a different mechanical component: the cables. Cables run on either side of the door, attached to the bottom brackets at one end and the drum at the other. When one cable frays or slips, that side of the door drops slightly, and the whole door runs off-level. Left uncorrected, a slipping cable can pull the door out of its tracks completely, which is a much more expensive repair than the cable replacement would have been.
In Anaheim’s climate, particularly in the older neighborhoods closer to the coast, cable corrosion is a real issue. Salt air accelerates rust, and rusty cables fray faster. If you’re in a home built before about 1990 with original hardware, a visual check of the cables every few months is a reasonable habit. Look for fraying, kinking, or rust at the points where the cable meets the bottom bracket and where it wraps around the drum.
The 60-Second Safety Sensor Alignment Test
Safety sensors are the small photo-eye units mounted near the floor on either side of the garage door opening. They project an invisible infrared beam across the door path. If anything breaks that beam while the door is closing, the opener reverses. Since federal regulations mandated these sensors in 1993, they’ve become one of the most common points of failure, and in most cases, the failure is alignment or obstruction, not a dead sensor.
Here’s the test, which any homeowner can complete in about a minute:
- Look at the sensor lights. Each sensor has a small LED. One is usually green, indicating it’s sending power and signal. The other is usually amber or red, indicating it’s receiving the beam. If either light is off or blinking, the sensors are misaligned or blocked.
- Check for obstructions. In Anaheim, where garages double as storage for bikes, surfboards, beach chairs, and holiday décor, a box or a tool in front of a sensor is a regular culprit. Even a spider web can diffuse the beam enough to break the signal.
- Check alignment. The sensors should be pointing directly at each other. Over time, a loose mounting bracket shifts slightly, enough to break the beam. Many sensors have a small alignment indicator notch or light that changes when they’re lined up.
- Adjust gently. Bend the mounting bracket slightly until the receiving light turns solid. This often requires patience, and in our experience, a fraction of a degree is the difference between working and not working.
- Test the door. Hold the wall button down, which bypasses the sensor, and let the door close. Release and test normal operation. If the door still won’t close normally with the wall button released, the sensor itself may have failed.
The important nuance here: a solid light on both sensors but a door that still won’t close points to a different problem. That’s wiring, the logic board, or a force issue. Misaligned sensors, on their own, don’t prevent a door from opening. They only prevent closing. So if your door won’t open, the sensors aren’t your primary suspect.
One more thing worth knowing: direct sunlight can trigger false obstruction readings on older sensor models. In Anaheim, where afternoon sun hits many west-facing garages directly, the sun can overpower the sensor’s infrared beam, causing intermittent reversal issues. If your door only misbehaves at certain times of the day, especially late afternoon, sunlight interference is a plausible cause, and a simple sun shield or sensor repositioning often resolves it.
If you’re dealing with an opener or sensor issue and want a specialist to take a look, our Garage Door Opener Repair in Anaheim team handles the full range of brands, from legacy mechanical systems to newer smart-home openers.
Symptoms That Require Immediate Stop-Use
Most garage door problems are inconveniences. A few are genuinely dangerous, and the distinction matters. If you see any of the following symptoms, stop using the door immediately. Continued operation makes the repair more expensive and increases the risk of injury or property damage.
- A visible gap in a torsion spring. When a torsion spring breaks, it breaks cleanly, usually with a loud bang that sounds like a gunshot. If you look at the spring above the door and see a two to three inch gap in the coil, that spring is broken. The door is now entirely unbalanced, and the other spring, if there is one, is carrying double the load and will fail soon.
- A frayed or kinked cable. Cables under tension can snap violently. If you see individual wire strands sticking out or a kink in the cable, that cable is on borrowed time.
- A door that’s off its tracks. If the door is sitting at an angle, one side has jumped the track or the roller has come out. Operating the door in this state will cause further damage and could result in the door falling.
- A loud grinding noise during operation. Grinding usually means a roller bearing has seized or the track is being damaged by metal-on-metal contact. Continuing to run the door grinds components into failure.
- A door that starts closing and then drops suddenly. This is the most dangerous symptom of all. It means the spring tension has failed catastrophically and the door is free-falling. A falling garage door weighs 150 to 250 pounds and can cause severe injury.
These are not DIY scenarios. They require a technician with the right tools, the right parts, and experience with the specific hardware installed in your door. At Porter Garage Door, we carry parts for all eight major brands we service, which means when we arrive at an Anaheim home with a snapped spring, we’re leaving with the correct spring installed, not a promise to come back once the part arrives. That efficiency matters when your garage is your primary entrance and your car is trapped inside.
If you’re facing any of these, treat the door as out of service. Use the pedestrian door or the front entrance. Don’t attempt to force the door open. Call a specialist.
Common Mistakes to Avoid
- Adjusting the force limit to compensate for a binding door. When a door binds in the tracks, raising the opener’s force limit masks the symptom but adds mechanical stress to both the opener and the tracks. It’s a shortcut that creates a bigger repair.
- Spraying lubricant on everything. Lubricant belongs on rollers, hinges, and springs, not on the tracks. Lubricating the tracks actually collects dirt and creates a grinding paste that accelerates roller wear. Tracks should be clean and dry.
- Assuming a non-responsive opener means a dead motor. The opener is often fine. The power source, the disconnect, the sensors, or the logic board are the usual culprits. Replacing a functional opener because of a tripped GFCI is an expensive way to learn about circuit sharing.
- Ignoring a slow door. A slow door is a spring that’s losing tension or about to break. Waiting until it fails completely means a sudden, potentially dangerous failure instead of a scheduled replacement at a predictable cost.
- Running the door with a visibly broken spring. We’ve already covered this, but it bears repeating. A door with one broken spring is being lifted entirely by the opener and the remaining spring, neither of which is designed for that load. Every cycle does incremental damage.
- Misdiagnosing a sensor issue as an opener failure. The classic scenario: the door won’t close, so the homeowner assumes the opener is broken and replaces it. Then the new opener won’t close either, because the sensors were the problem all along. The 60-second sensor test would have caught this.
- Attempting DIY spring repair. This is the one we can’t overstate. Torsion springs store enormous energy, and the winding bars required to safely adjust them are not the same as the tools in a standard homeowner toolbox. Professional spring repair requires specific tools, specific technique, and an understanding of how the spring’s tension interacts with the rest of the door system. This is not a job to learn from a video.
When to Call a Professional
You can handle sensor realignment, disconnect reconnection, remote battery replacement, and force limit fine-tuning on your own. You should not handle springs, cables, track realignment, or anything that involves the door’s weight-bearing components. The rule is simple: if the door is heavy or the component is under tension, call a professional.
Porter Garage Door offers free estimates in Anaheim. We’ll diagnose the issue, tell you whether repair or replacement makes more sense for your specific door, and quote you a price before any work starts. You can reach us at (833) 589-5745. We work on the brand already in your garage, from Wayne Dalton to LiftMaster, and garage doors are all we do.
For the full scope of what we handle, see our Garage Door Repair in Anaheim page. If you’re considering a full replacement rather than a repair, our Garage Door Installation in Anaheim team can walk you through your options across multiple brands. And if you’re not sure which direction makes sense, start with our Porter Garage Door home page for an overview of how we approach each job.
Frequently Asked Questions
Diagnostic visits in Anaheim typically run between $60 and $120, though many companies apply that fee toward the repair if you proceed. At Porter Garage Door, we offer free estimates, so the diagnostic conversation doesn’t cost you anything. Call (833) 589-5745 and describe the symptoms, and we’ll tell you what we think is happening before we ever come out.
Same-day repair is usually possible for spring replacements, sensor realignment, force adjustments, and most opener repairs. We stock parts for eight major brands, which means we’re not waiting on a shipment. In our experience serving Anaheim, we can often complete a common repair in a single visit. Call early in the day and we’ll do our best to get out to you the same afternoon.
No. The price we quote before starting work is the price you pay. We don’t surprise anyone with a larger invoice at the end. If we find something additional that needs attention while we’re working, we’ll show you what we found, explain what it means, and get your approval before doing anything beyond the original scope. Call (833) 589-5745 for a free estimate.
Yes. Our technicians carry torsion springs, extension springs, cables, rollers, hinges, sensors, and opener parts for LiftMaster, Chamberlain, Genie, Clopay, Amarr, Wayne Dalton, Craftsman, and Raynor. We know the brand in your garage because it’s all we work on, and we show up with the parts you need, not a list of parts we’ll need to order.
Two likely reasons. First, the opener’s thermal protection may be tripping when garage temperatures exceed roughly 100 degrees, which happens regularly in Anaheim summer afternoons. Second, direct sunlight hitting the safety sensors can cause intermittent false obstructions. Both are solvable, and a quick conversation with one of our technicians usually identifies which one you’re dealing with. Call (833) 589-5745 and describe exactly when the door misbehaves.
It depends on the door’s material, the condition of the hardware, and what’s actually broken. A well-maintained steel door can serve 25 to 30 years, and replacing a spring on a 20-year-old door is often a smart investment. But if the panels are rusting, the tracks are worn, and the opener is original, replacement might cost less in the long run than piecemeal repairs. We’ll give you an honest recommendation, not a sales pitch. That’s what we mean when we say repair or replace, we’ll tell you which one actually makes sense.
The Bottom Line
Garage door troubleshooting isn’t about memorizing a symptom list. It’s about understanding which system failed. Isolate the mechanical from the electrical with the disconnect test. Read the opener’s blink codes before assuming a dead motor. Check the sensors before replacing the opener. And respect the dangerous components: springs, cables, and track alignment are professional territory. In Anaheim, where garage doors are the primary entrance to most homes, a malfunctioning door disrupts your whole day. The fastest path back to normal is a correct diagnosis, not a guess. If you’re not sure what you’re dealing with, our How to Hire a Garage Door Contractor in Anaheim: A Step-by-Step Guide can help, or call (833) 589-5745. Free estimates, straight answers, and a technician who knows your brand.
Written by the team at Porter Garage Door, serving Anaheim since 2015. For more guides & resources, visit our blog.
See the difference
 Before
 After
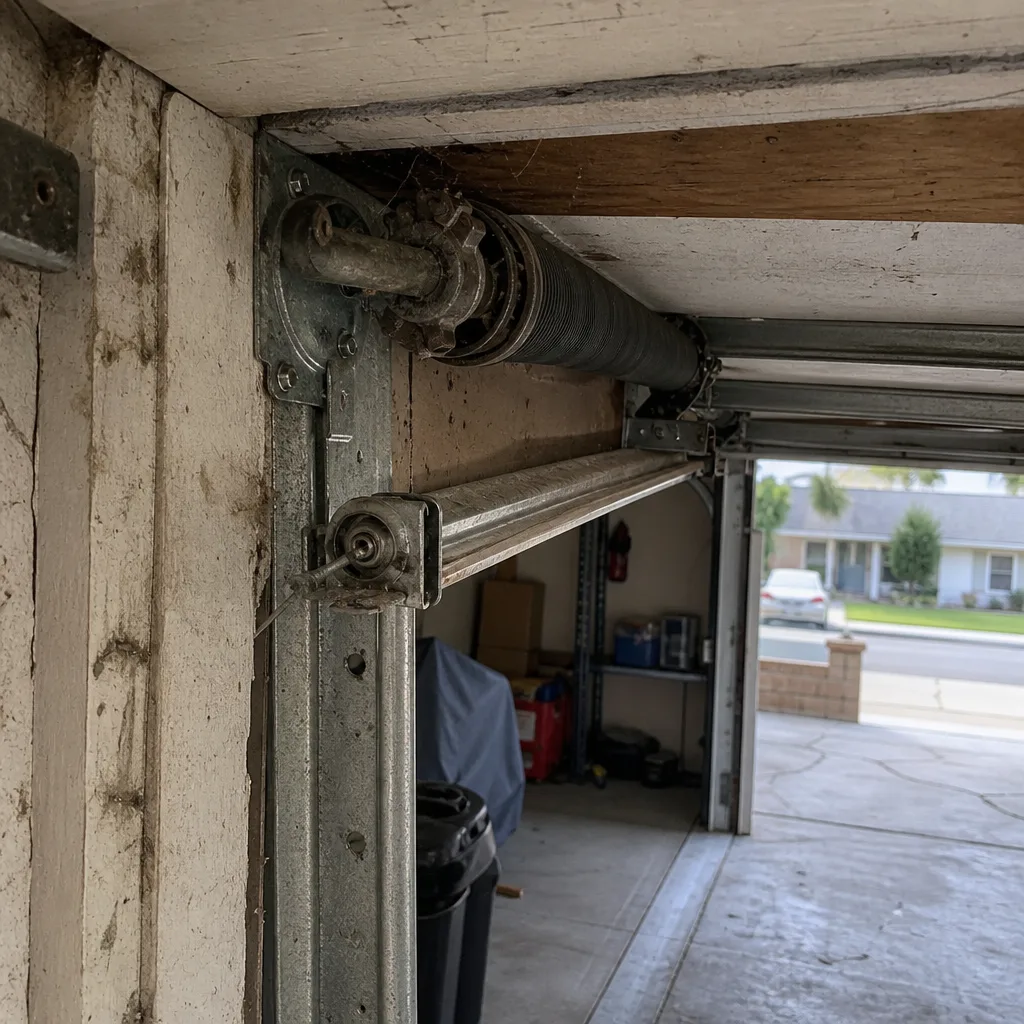 Before
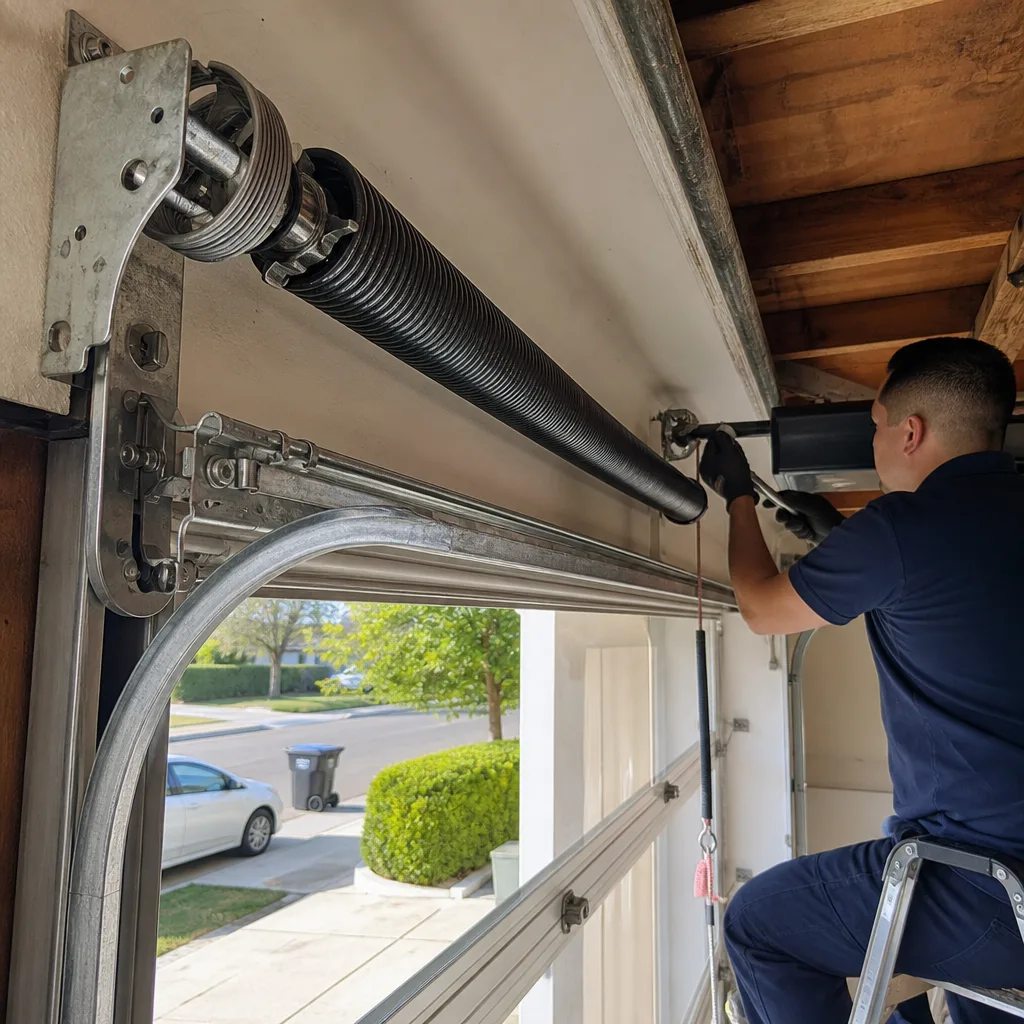 After
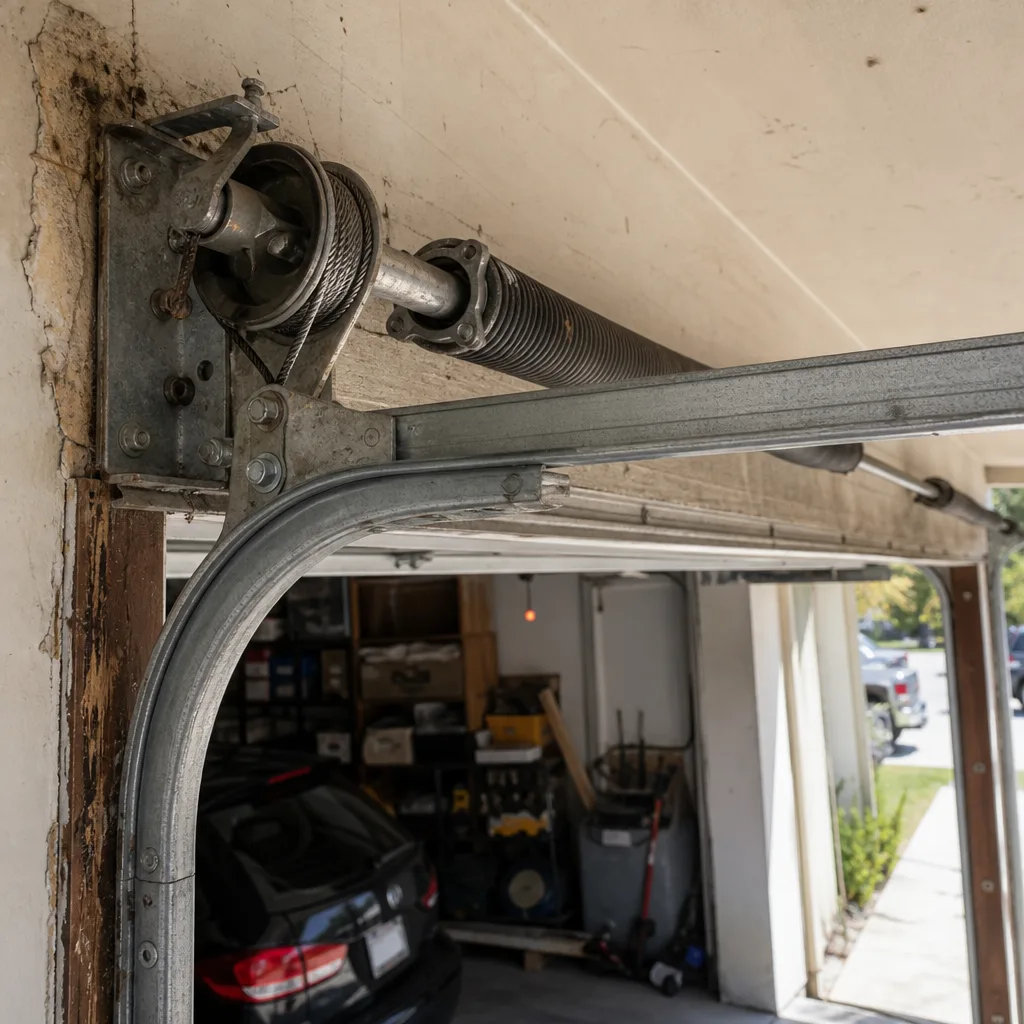 Before
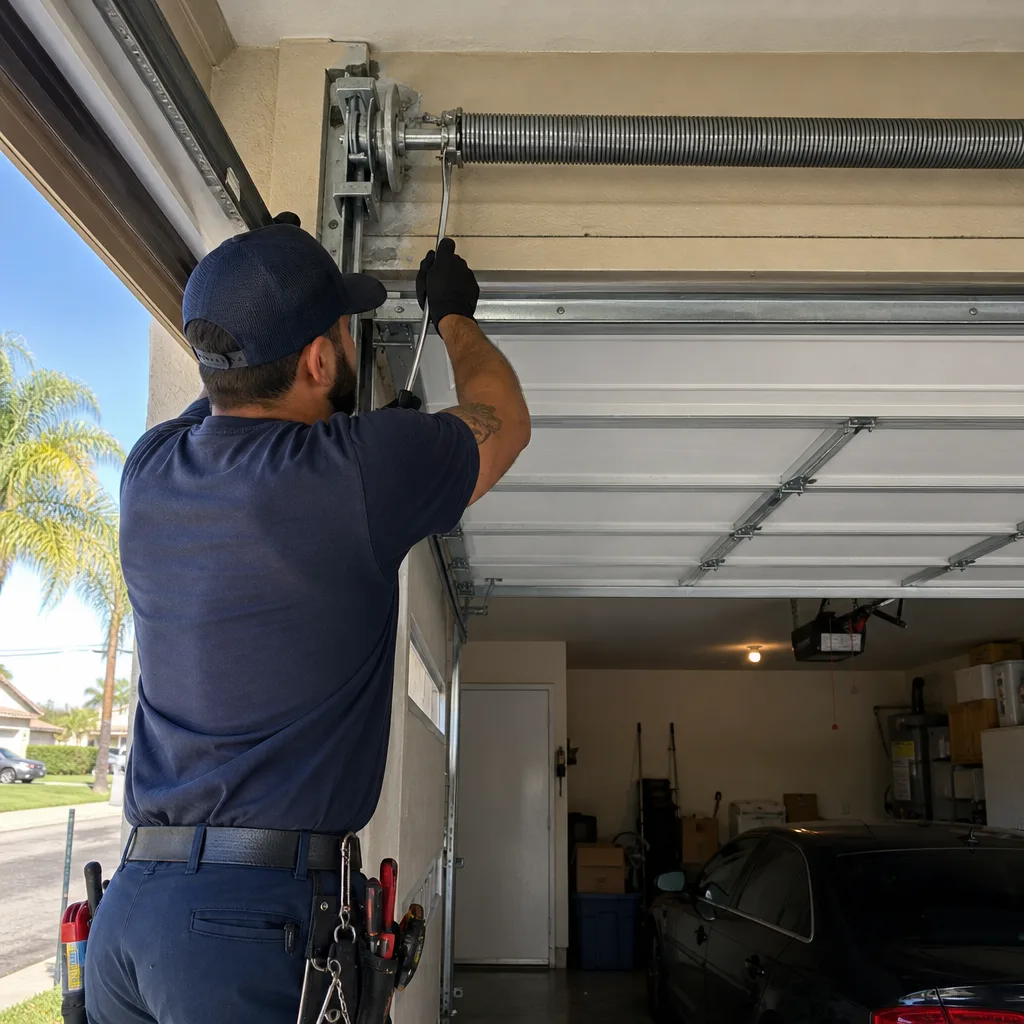 After